Need assistance in creating a custom viewfinder reel? Help is always here!
Today, I would like to give everyone tips and techniques for capturing the best pictures to put on a reel….
Whether creating a custom Image3D reel with your 2D pictures or taking pictures with a 3D camera, we have some great tips and techniques for you to follow.
Taking 2D Pictures for a Custom Reel
2D pictures...we all have them! From weddings, kids' birthday parties, or trips to Cancun, they are all sitting there on our computers or memory cards. But what are the best pictures to use on a custom reel?
1. Frames on a reel are square. Remember that when taking or using pictures of wide shots. Things or people on the ends may get cut off.
2. Along with #1, tighten up groups of people- to ensure that everyone gets in the frame. Since reel frames are square, a wide group shot may lose people on the ends.
Of course, you can always use our Reel Builder's editing tools to help zoom in and out of your picture, click here for more info.
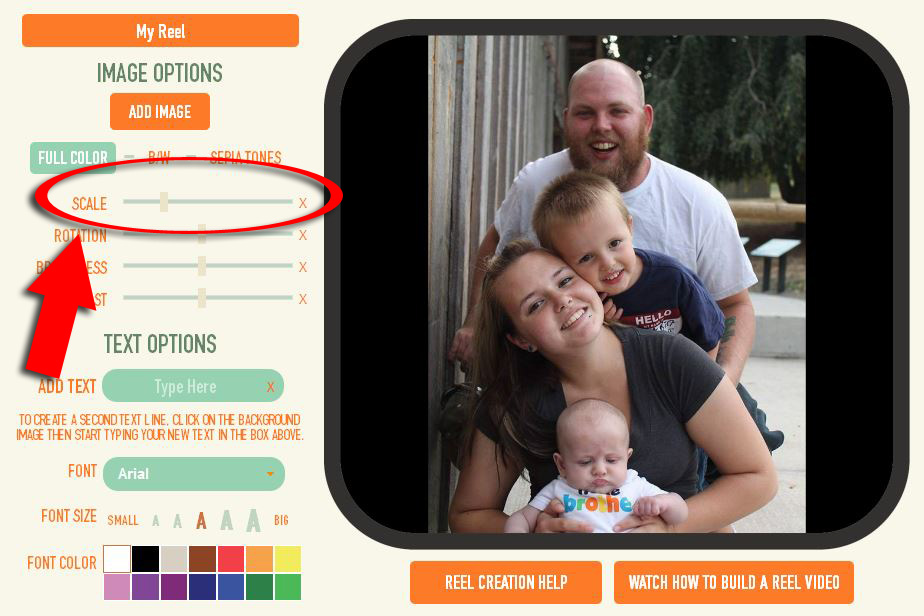
3. Horizontal pictures work best to fill up the entire frame. However, you can definitely use vertical pictures if you have them. If you do, you can either zoom in on the picture to fill up the entire frame, or zoom out and leave empty spaces around the image. You can also move the image around the frame to ensure the most important things are centered.
For more details on this, please click here. We have an entire page dedicated to this issue!
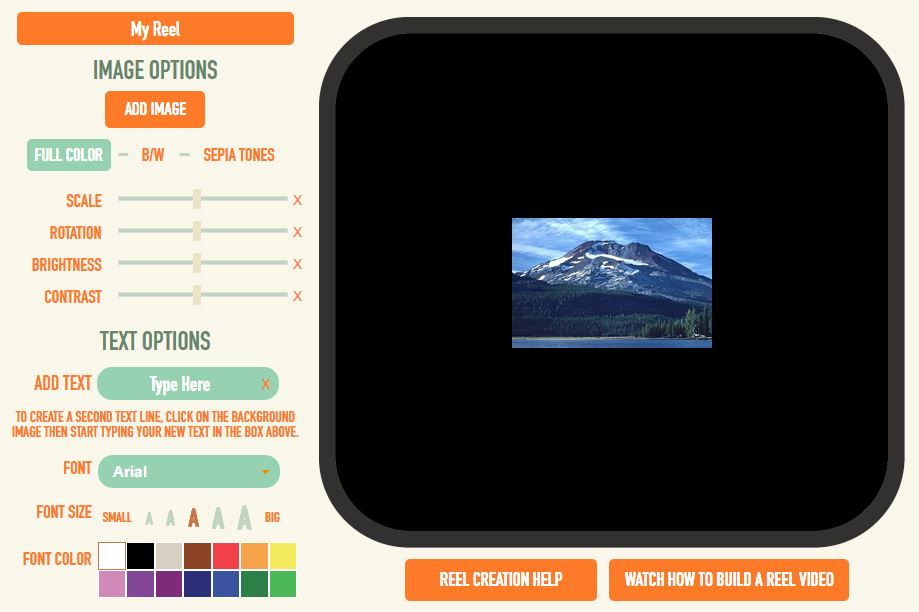
4. Small sized or blurry pictures won't look good. The quality of the picture is already not that great....but gets even worse when you upload it to the reel and then shrink it down to a size that is barely 1 inch by 1 inch.
When you do upload a low-quality picture, it likely won't fill up the entire screen (this photo is only 43kb, very small!)
It is best to pick out a new photo.
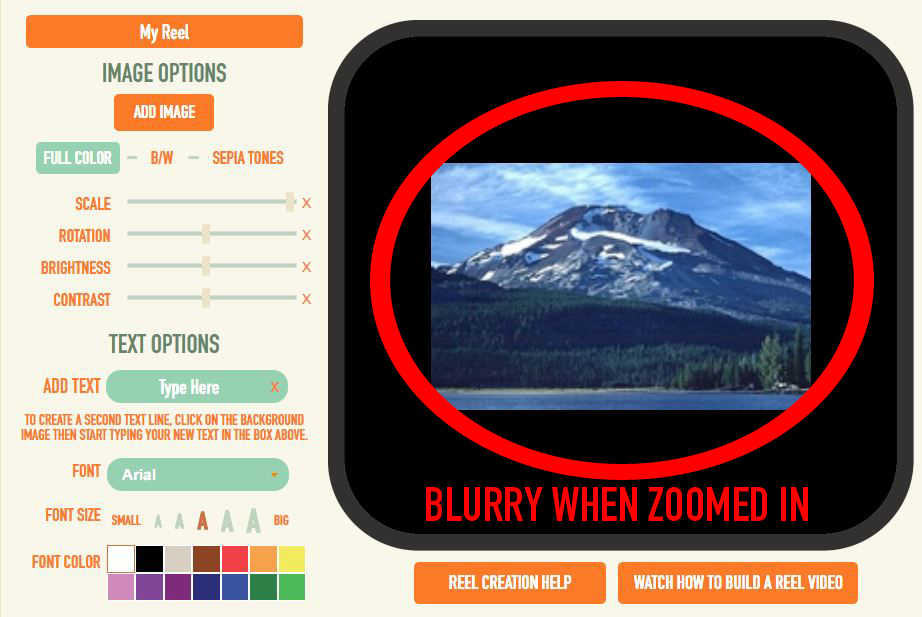
If you try to zoom in, using the scale too, it will pixelate and look very blurry. Again, it is best to pick out a better quality photo.
And, of course, our reel builder has lots of helpful tools within it. There are no rules to what kind of photos you use (of course, they have to be jpeg, but that is the standard) and no fancy requirements. If you upload a photo and need to zoom in or out, simply use the scale tool. If your photo is cock-eyed, we have a rotate tool for that. There are also color options, such as brightening it up, making it black and white, etc. So, no need to fret! Upload your images and have fun!
See more tips posts for helpful info when creating your reel on our RetroViewer website.
Taking 3D Pictures for a Custom Reel
Taking 3D pictures is fun and super popular right now! Nowadays, you can get a fairly inexpensive 3D camera to toy around with.
Then, you can make a custom 3D reel by submitting your order on our Stereo website.
- No vertical pictures! 3D pictures must be taken horizontally.
Think about it...a 3D camera is mimicking our eyes. And, unfortunately (or fortunately?) our eyes aren't stacked above each other.
- Frames on a reel are square. Remember that when taking or using pictures of groups or wide shots. Things or people on the ends, get be cut off (see #1 & #2 above).
- Keep your distance! 3D pictures that are too close to the subject cause headaches to those viewing them.


Michael
-Set the aspect ratio to 4:3 - that’ll make images with the least amount of cropping necessary to fit the View-Master frame.
-Set the ISO to the lowest possible setting based on available light – the higher you go the grainier the images. Or just make sure the lighting is good and get well exposed shots.
-Don’t turn the camera on its side to take vertical images.
-Avoid super close-up shots.